

Hey there! As a supplier of tremie pipes, I've seen my fair share of issues with these essential pieces of equipment. One common problem that many users face is a small hole in the tremie pipe. In this blog post, I'll walk you through the steps on how to repair a small hole in a tremie pipe, so you can get your operations back on track in no time.
Step 1: Identify the Hole
The first step in repairing a small hole in a tremie pipe is to locate it. This might seem obvious, but sometimes, the hole can be tricky to find, especially if it's small or located in a hard-to-reach area. You can start by visually inspecting the pipe for any signs of damage, such as rust, corrosion, or a visible hole. If you can't find the hole by looking, you can use a pressure test. Fill the pipe with water and look for any leaks. Once you've identified the hole, mark it with a piece of tape or a marker so you can easily find it later.

Step 2: Gather Your Tools and Materials
Before you start the repair process, you'll need to gather the necessary tools and materials. Here's what you'll need:
- Abrasive cloth or sandpaper: This will be used to clean and roughen the area around the hole, which helps the repair material adhere better.
- Epoxy putty: Epoxy putty is a great choice for repairing small holes in tremie pipes because it's strong, durable, and resistant to water and chemicals.
- Gloves: To protect your hands from the epoxy putty and any sharp edges on the pipe.
- A putty knife or a small spatula: This will be used to apply the epoxy putty to the hole.
Step 3: Prepare the Area
Once you have your tools and materials ready, it's time to prepare the area around the hole. Start by cleaning the area with an abrasive cloth or sandpaper to remove any dirt, rust, or debris. This will help the epoxy putty adhere better to the pipe. Make sure to roughen the surface around the hole slightly to create a better bond. After cleaning, wipe the area with a clean, dry cloth to remove any dust.
Step 4: Mix the Epoxy Putty
Next, you'll need to mix the epoxy putty according to the manufacturer's instructions. Most epoxy putties come in two parts: a resin and a hardener. You'll need to mix these two parts together thoroughly until the color is uniform. This usually takes about 2 - 3 minutes of kneading. Make sure to wear gloves during this process to avoid getting the epoxy putty on your hands.
Step 5: Apply the Epoxy Putty
Once the epoxy putty is mixed, it's time to apply it to the hole. Take a small amount of the putty and roll it into a ball. Then, press the ball onto the hole, using a putty knife or a small spatula to spread the putty evenly over the hole and the surrounding area. Make sure to fill the hole completely and smooth the surface of the putty so it's level with the rest of the pipe.
Step 6: Let the Epoxy Putty Cure
After applying the epoxy putty, you'll need to let it cure. The curing time can vary depending on the type of epoxy putty you're using and the temperature and humidity of the environment. Generally, it takes about 24 hours for the epoxy putty to fully cure. During this time, make sure to keep the pipe dry and avoid putting any pressure on the repaired area.
Step 7: Test the Repair
Once the epoxy putty has fully cured, it's time to test the repair. You can do this by performing another pressure test. Fill the pipe with water and check for any leaks. If there are no leaks, then the repair was successful. If you notice any leaks, you may need to repeat the repair process.
Other Types of Tremie Pipes
At our company, we offer a variety of tremie pipes to meet different needs. If you're in the market for a new tremie pipe or looking to replace an old one, here are some options for you:
- Tremie Hopper: A tremie hopper is an essential part of the tremie pipe system. It's used to hold and feed the concrete or other materials into the tremie pipe.
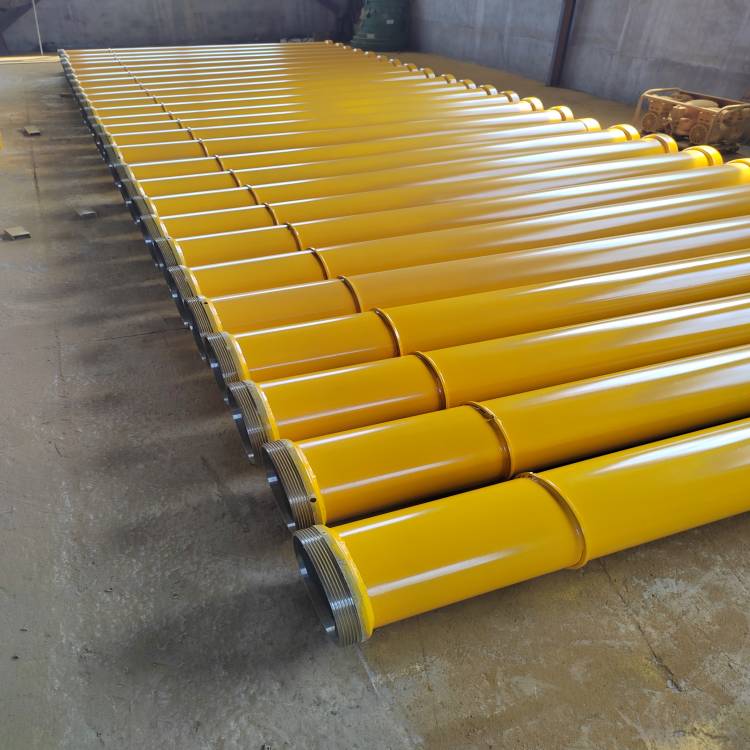
- Threaded Tremie Pipe: Threaded tremie pipes are easy to assemble and disassemble, making them a popular choice for many construction projects.
- Wire Cable Tremie Pipe: Wire cable tremie pipes are designed for use in deep - water applications. They're strong and flexible, making them suitable for a variety of challenging environments.
Conclusion
Repairing a small hole in a tremie pipe is a relatively simple process that can save you time and money. By following the steps outlined in this blog post, you can easily repair a small hole in your tremie pipe and get it back in working condition. If you have any questions or need further assistance, feel free to reach out. And if you're interested in purchasing a new tremie pipe or any of our related products, we're here to help you with your procurement needs. Just contact us, and we'll be happy to discuss your requirements and provide you with the best solutions.
References
- Manufacturer's instructions for epoxy putty
- Industry best practices for tremie pipe maintenance and repair